I also jig-sawed the keys apart, after my disastrous attempt to separate them with a circular saw. I bought a new jig-saw blade, and that seemed to help. It still wasn't easy, without a good rig to secure the rack of keys. Some of the buttons got a little chewed up, but I was able to sand them all down ok, so they looked pretty consistent.
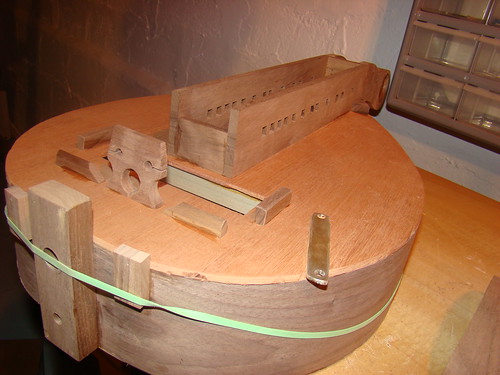
The only drag with this kit is that you have to cut the brass for the crank yourself. I bought a metal-cutting blade for the jigsaw, but it was still murderous, and my crank (you can see it on this photo) is uneven and lumpy. I sanded and buffed it as much as I could...
Here's the pre-varnish hurdy gurdy:
Now it's varnish time. Musikits varnish kit is actually pretty nice, and it had all the necessary clothes, sandpapers, and brushes. I sanded the whole thing down, then cleaned it with the cloth included. Then the varnish went on. I tried not to lay it on too thick...a little goes on a long way. Here it is, after the first coat:

The first coat has almost dried, so I flipped it over and did the bottom. I probably won't do second coats on the tiny pegs that go inside the key-chest, since no one sees them, but otherwise, tomorrow morning I'll probably sand it down and do a very thin second coat.
No comments:
Post a Comment